
Hello everyone, it’s Vicki here taking over the blog spot for a new year post, Wishing you a happy, healthy and sewtastic new year!

Ever had an occasion pop up that you think ” oooo an opportunity to make a new dress, that requires to be a little different to your normal every sew wear?
Well, some very good friends of ours invited us to a New Year’s Eve ‘do’ requiring evening dress and I thought just that! a great opportunity to make a formal, long dress. What I didn’t think about, was the time of year and everything else that needs doing!
First things first: choosing a pattern and fabric.
I mentioned the potential make and event to Amanda in class hoping for her thoughts for inspiration. I’d just made the Anna Dress from By Hand London and the long version was an option.
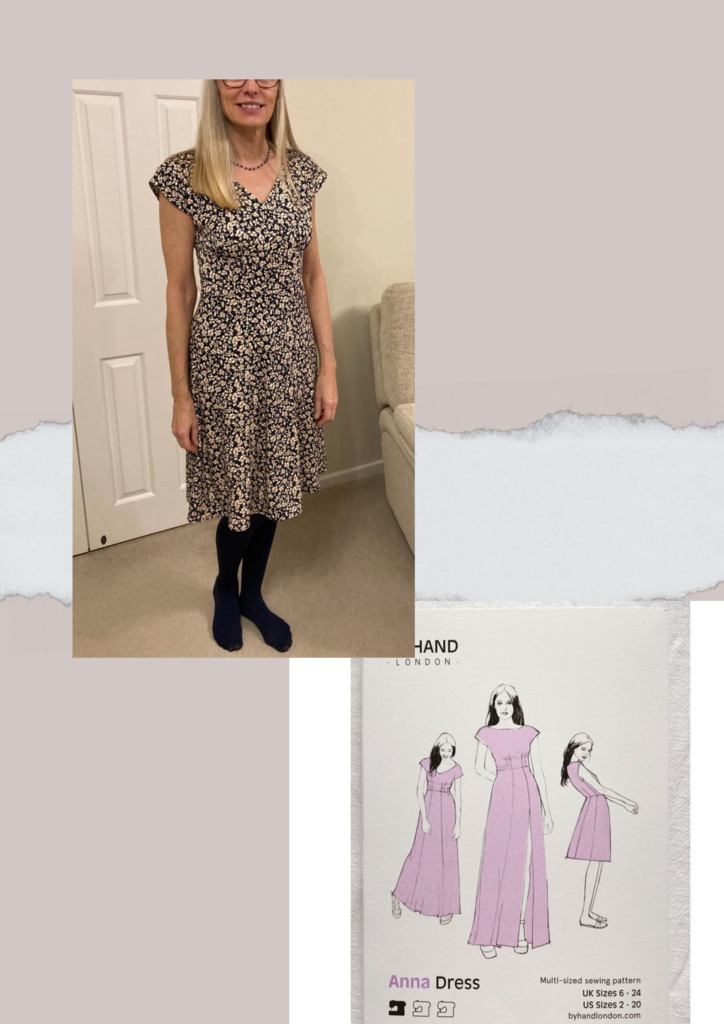
Amanda been Amanda though, had that glint in her eye and said ” think I have a pattern that could be just right, I’ll ping you some pics and a few others from my stash of days when I wanted to make things .. just because !”
That evening, true to her word my What’s app started to ping with a choice of pattern ideas from her own collection.
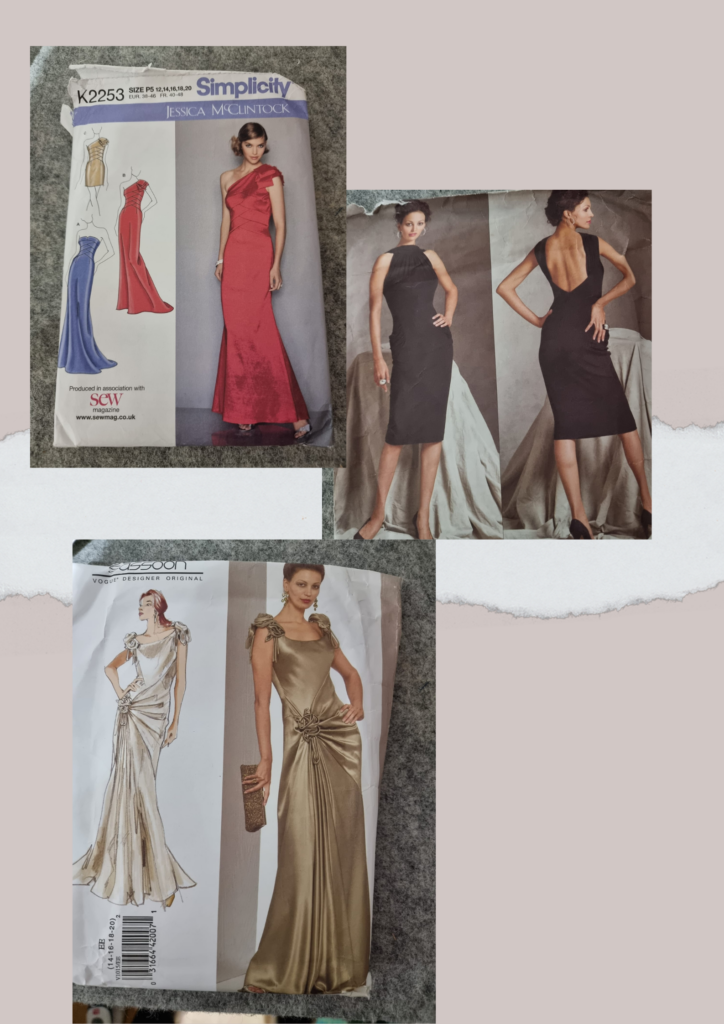
Apparently, this was her first thought and this was the first pic sent through…Vogue 8556 – She knows me SOOOO well!
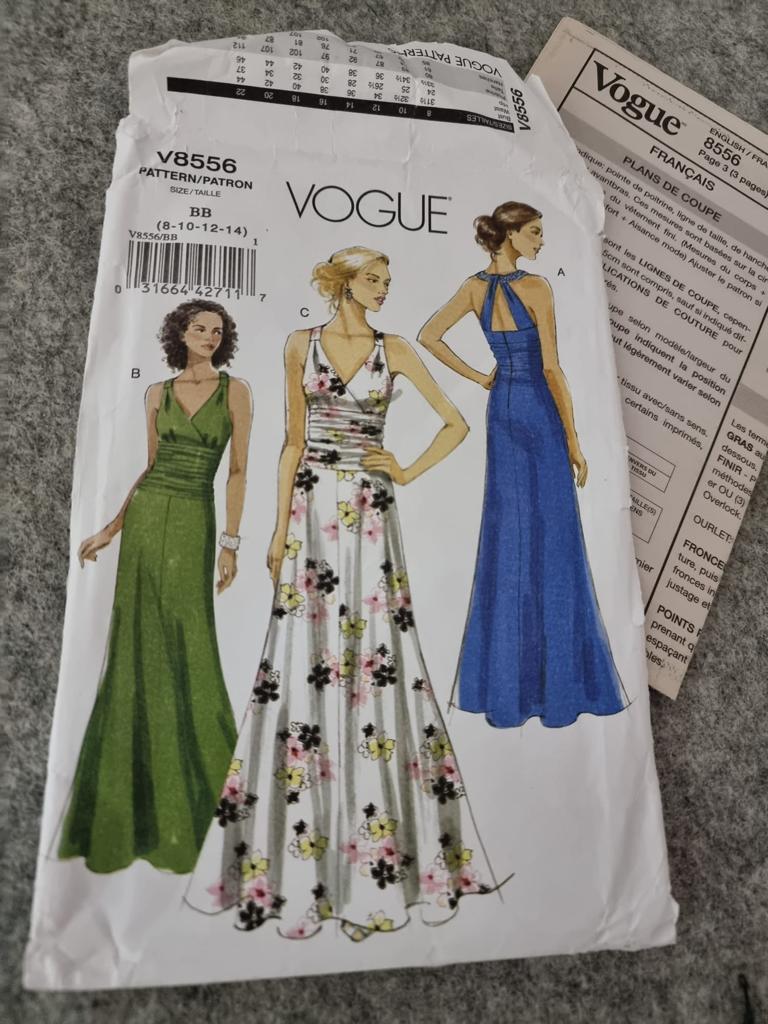
“Some great patterns” I replied . “I think my favourite is the first one. Could bra cups be fitted into the bodice perhaps? not sure about been braless in the winter!”
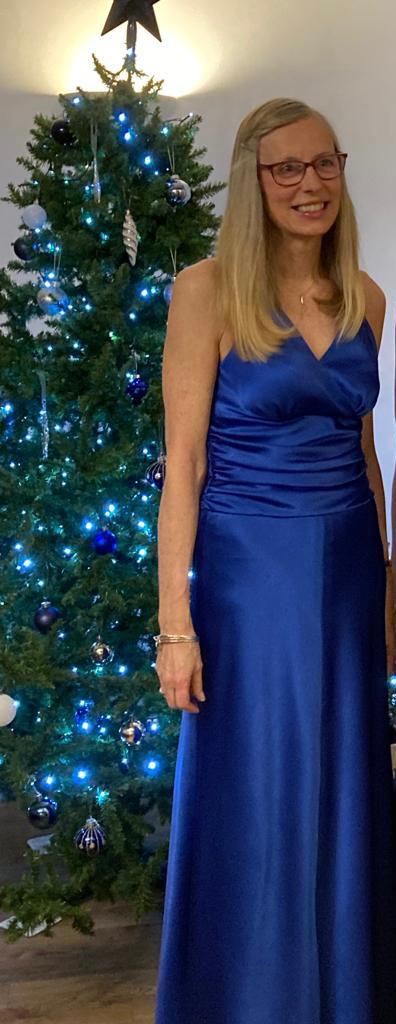
Once the pattern was agreed, she also then managed to produce fabric! A beautiful Royal Blue polyester Satin with matching lining!
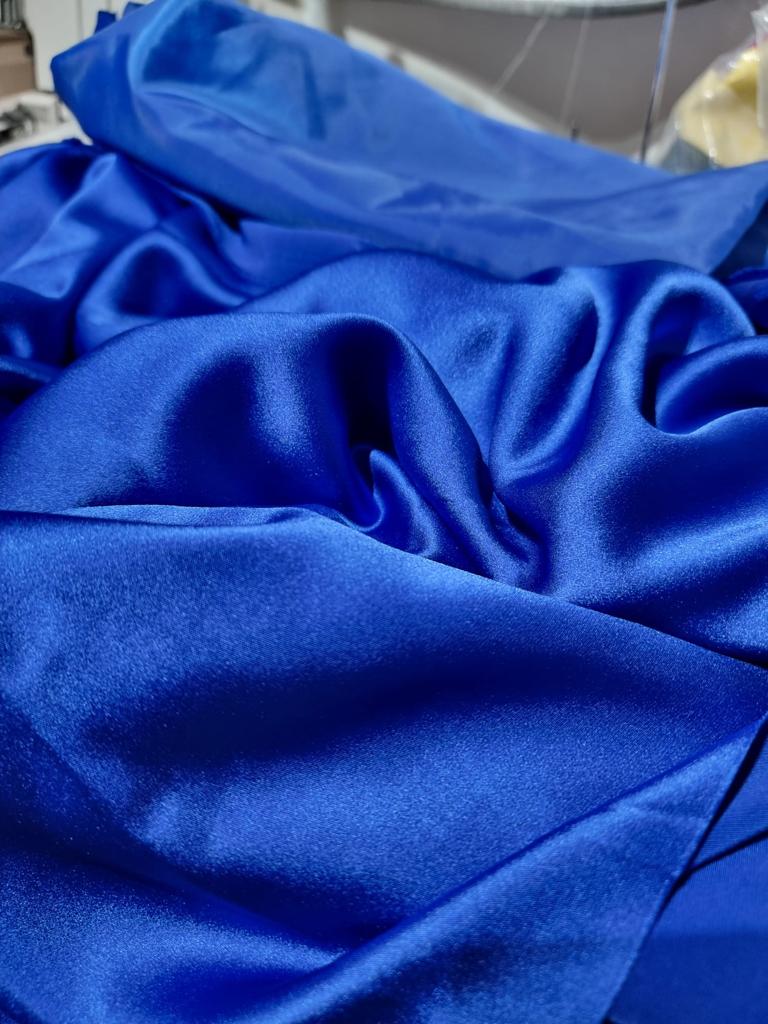
This was apparently purchased way before the Studio was founded, with the intention of making said V8556, I loved the colour, which she very generously offered to me. Amanda said “well at least the pattern and fabric will finally be made up”. 😀
Phase Two:
I made a size 10 toile and of course it needed a number of alterations:
Taking in on the bodice
Letting out on the waist/hip
Sway back adjustment ……..Just for starters!
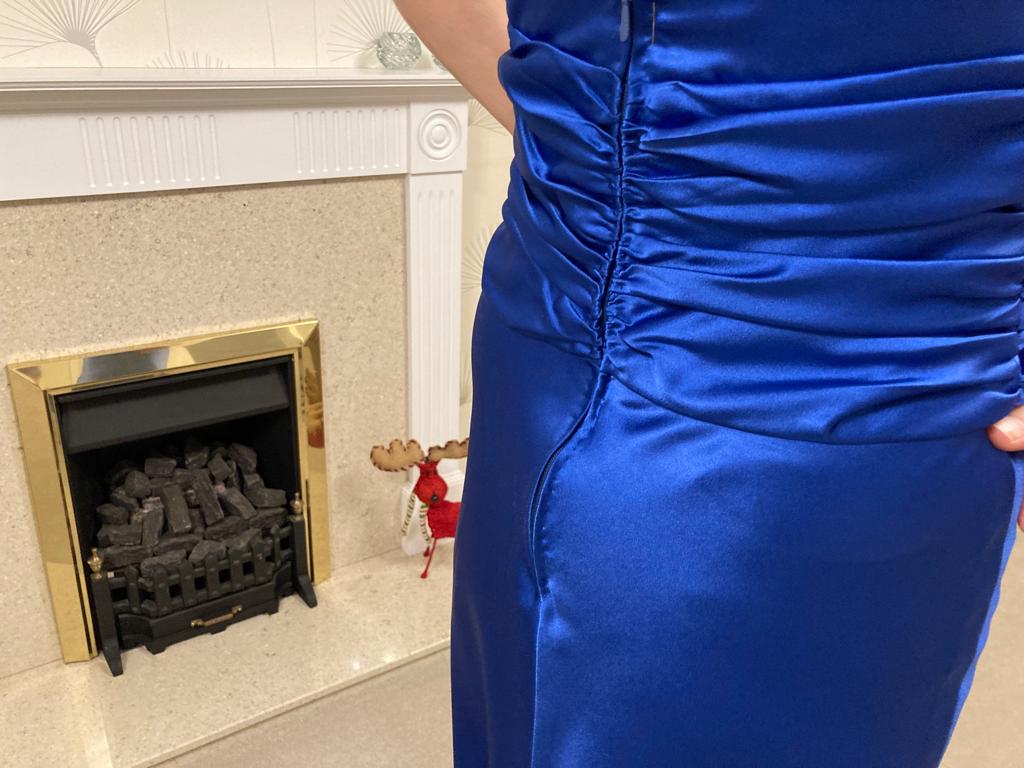
I knew I wanted to insert bra cups (not on the pattern) and after making the first toile, I also decided to gather the bodice rather than have the two tucks the pattern required.
Toile No. two
I made a second toile using new fabric for the bodice and midriff and reusing the existing toile skirt fabric. I employed the alterations and also gathered the bodice and sewed bra cups into it. Hurrah! It was a much better fit. The benefit from making a toile is that you certainly get to know the pattern construction well !
Scary Bit:
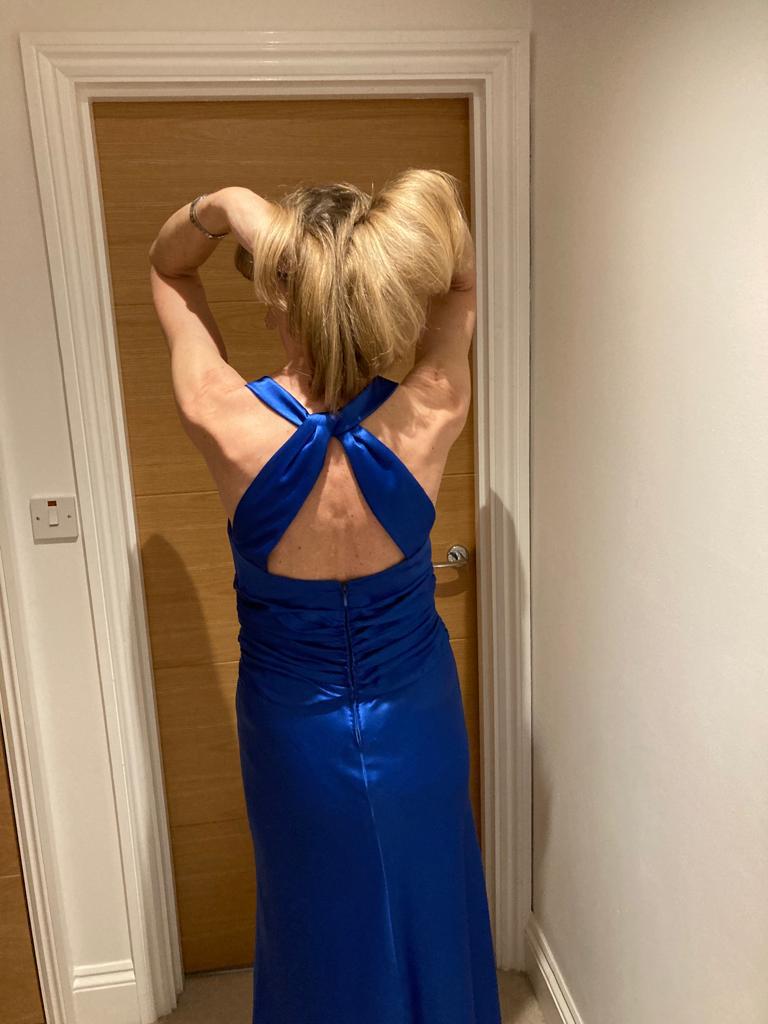
It was at this point where I realised the dress seemed to have a hand sewn zip!!! I just couldn’t see how that was going to look ok.
Amanda was very reassuring and took the time to insert a zip into the second toile to demonstrate the technique. I was not convinced!!
The Real Thing:
This is it !! snip snip ✂️✂️✂️✂️ I cut the actual fabric and lining and sewed the bodice and midriff for a try on. Way too big. What had I done wrong?🤔 I went back to the second toile and realised that I hadn’t gathered it tightly enough this time. So, there’s my first lot of unpicking.
Gathers adjusted, tried it on again, phew a much better fit, but the bra cups were in the wrong place! The bodice was put together and unpicked a number of times to get the bra cups in the correct place. 🙈🙈 At this point panic set in, I began to fret that I couldn’t make the dress. After all, there was still the zip to tackle.
Amanda was endlessly patient and reassuring. As was my husband, Dave. Both said I was capable of doing the sewing, it was the short timescale that was causing me the angst. But I couldn’t help worrying and feeling anxious. With the bodice and midriff sorted out it was relatively easy to attach the skirt then came the zip.
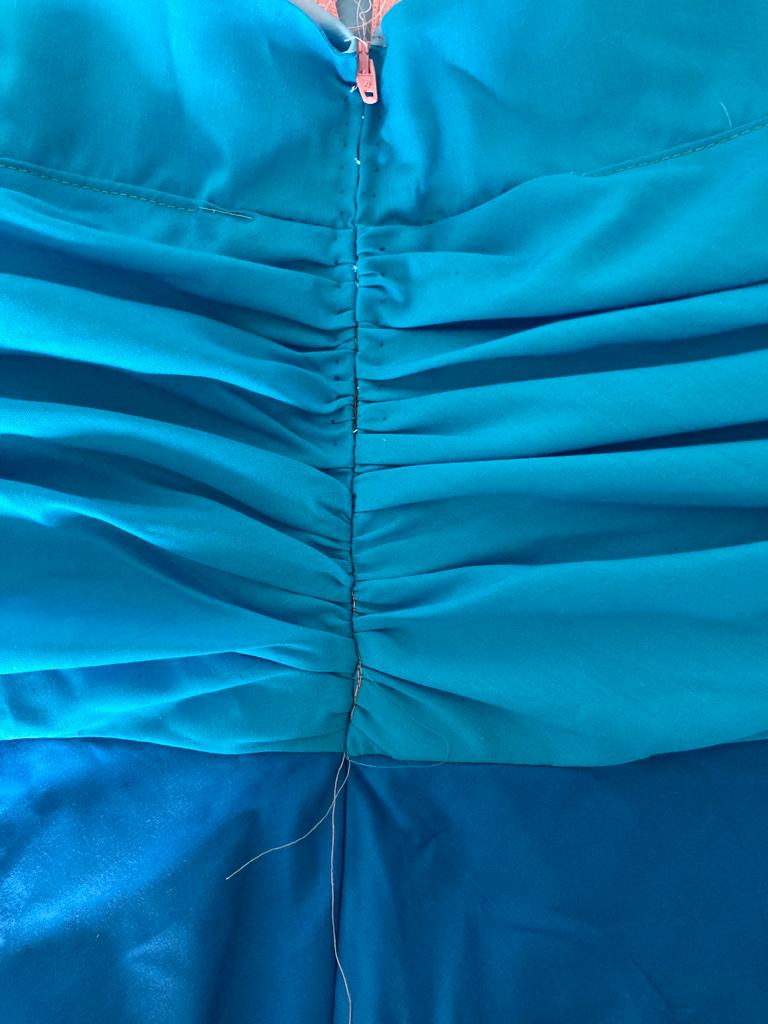
Amanda suggested that it would be best to machine baste the zipper into place utilising the wonderful Wonder Tape , leaving the basting in place also acts to keep it secure. But then the zip is finished with hand stitching – a ‘prick stitch’ which was necessary due to the gathers in the bodice, to prevent them getting caught in the zipper when moving up and down. I did find this process hard to do. After unpicking the first three inches twice I had a practice on the toile before finally sewing the actual dress. I’m not a massive fan of this technique but I did my best and in the end I think it looked ok.
So, a try on. And it felt like the end of the world when there was a bulge at the bottom of the zip and it gaped slightly at the top.
At Sewcial sewing the following day Amanda worked out how to resolve these issues. Yes, more unpicking! The top of the bodice was given a bigger seam allowance to bring it in and the bottom of the zip was shortened by cutting it off and stitching the seam up (after checking I could still get in the dress!). This got rid of the bulge. I also delved inside the lining and took the midriff sides in a little.
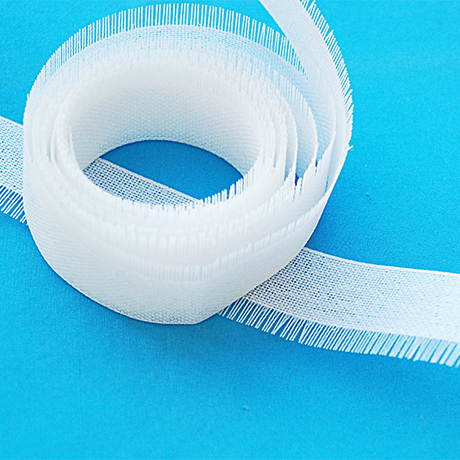
So, finally the home straight. I took ½” off the length and used the ban-rol technique to hem the skirt and skirt lining. If you’ve never used this product.. DO Amanda does a demo of it here on the YouTube Channel
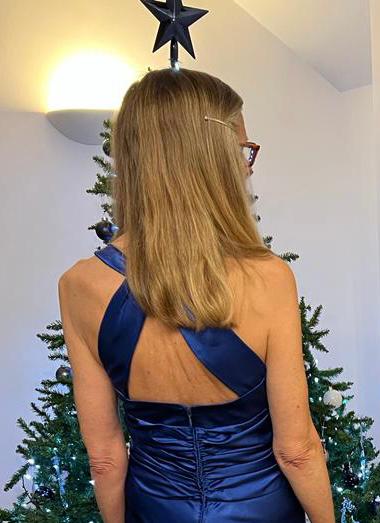
Then I hand stitched the lining down the sides of the zip to make it all look neat and tidy on the inside.
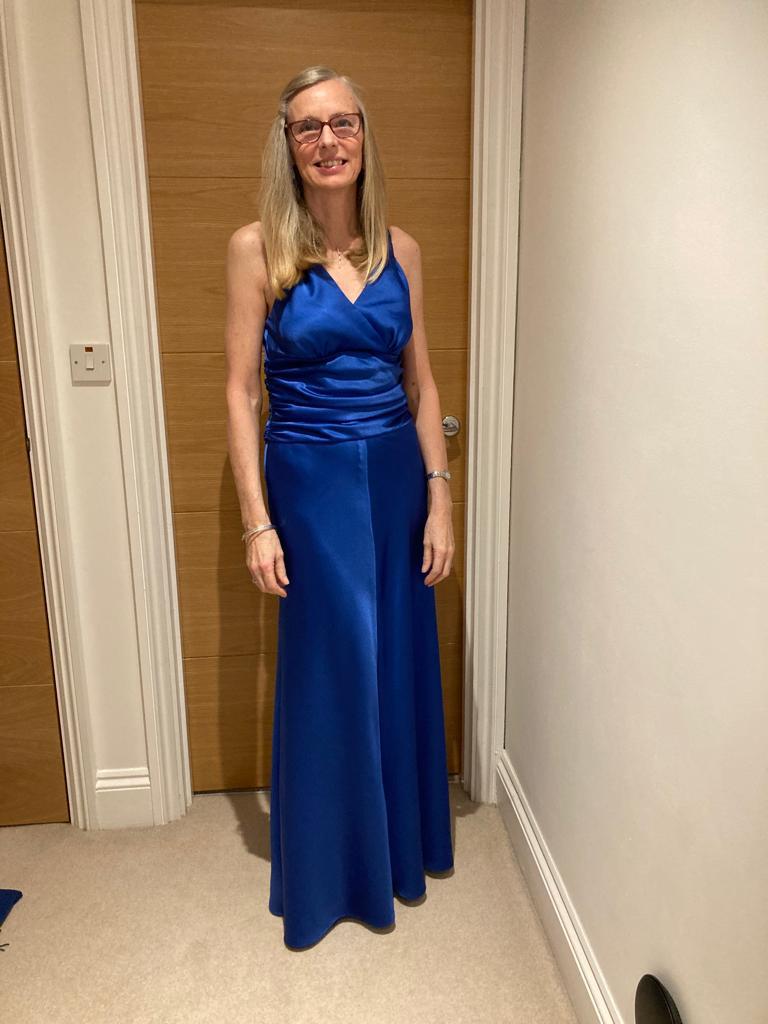
And on 31st December I did go to the ball wearing my dress!
I cannot thank Amanda enough for her help and problem solving, her reassurance and confidence in my ability to make the dress. And of course for the generous gift of the pattern and fabric. Without her I would have been shopping for a dress at the eleventh hour!
I must also thank Dave, who was incredibly patient and again reassuring. Both Dave and Amanda pointed out, quite correctly, that I do numerous toiles for some of the things I make. Unpicking, though a bit of a nuisance, doesn’t really bother me as I like to do the best
I can. What changed the sewing experience this time was the short timescale. But in the end, on the night, I felt like a princess! And a very good time was had by all.
PS I’ve actually said I will make the dress again, a shorter version in Summer fabric 💓


