Hello again – hope you’ve had a great week and are ready to complete your Eden’s
In this last session we are sewing the lining to the jacket, fairly straight forward, but as we are working with a stretchy lining and a stable outer there can be a few hiccups along the way; but hopefully you will find the few hints tips and general ideas useful to make the process as easy as possible. ?
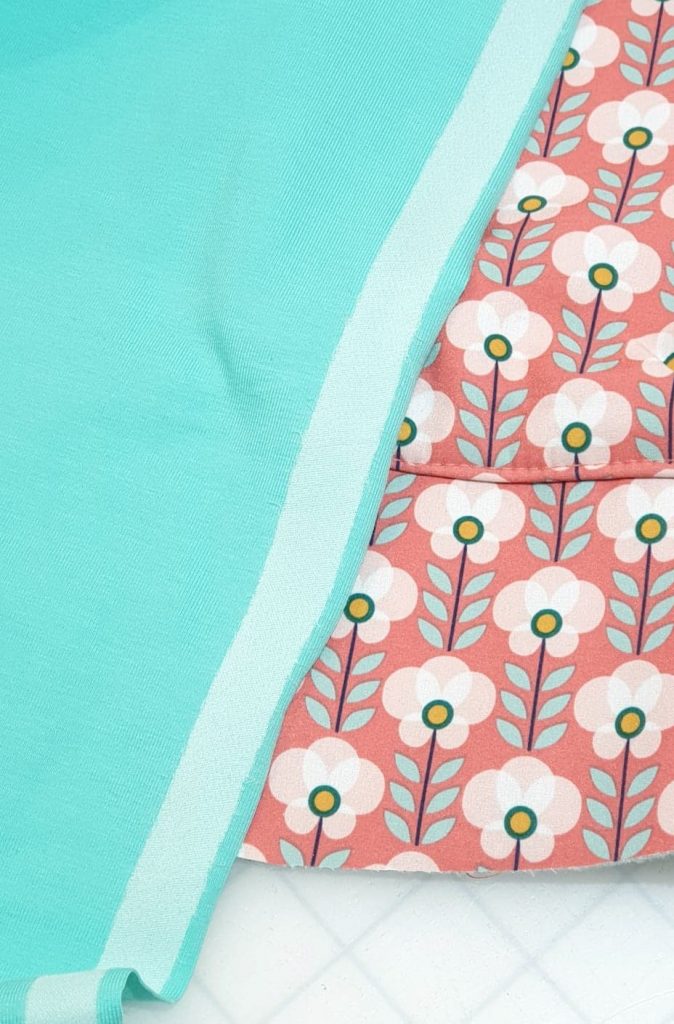
You may find that your jersey lining may roll and/or creep when stitching on to your outer coat, especially down the front edges – to compensate or stabilise the front edges I recommend using a strip of seam binding or a the Vilene 609 jersey interfacing
Tip: Sewing each seam individually will allow you to check each one individually, any small areas that need smoothing out or re-stitching can be done as you go along rather than finding out at the end you have to take out a larger section
Sew in the right hand-side first ( the one with the added facing) this will then allow the bottom hem to be stitched in as the facing is pulled back and will fit nicely along and seams matching
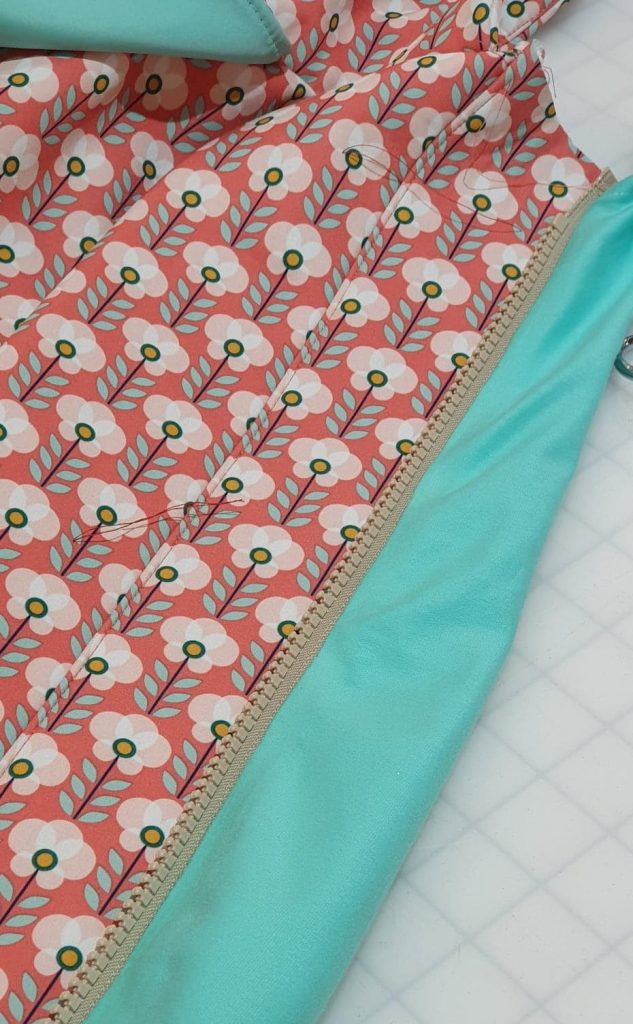
Stitch along the bottom edge and then undercut the facing

Work on the left front and then lastly the neck edge. When sewing the neck make sure that you sew close up to the chin strap edge – keep checking and re sew closer if needed
![]()
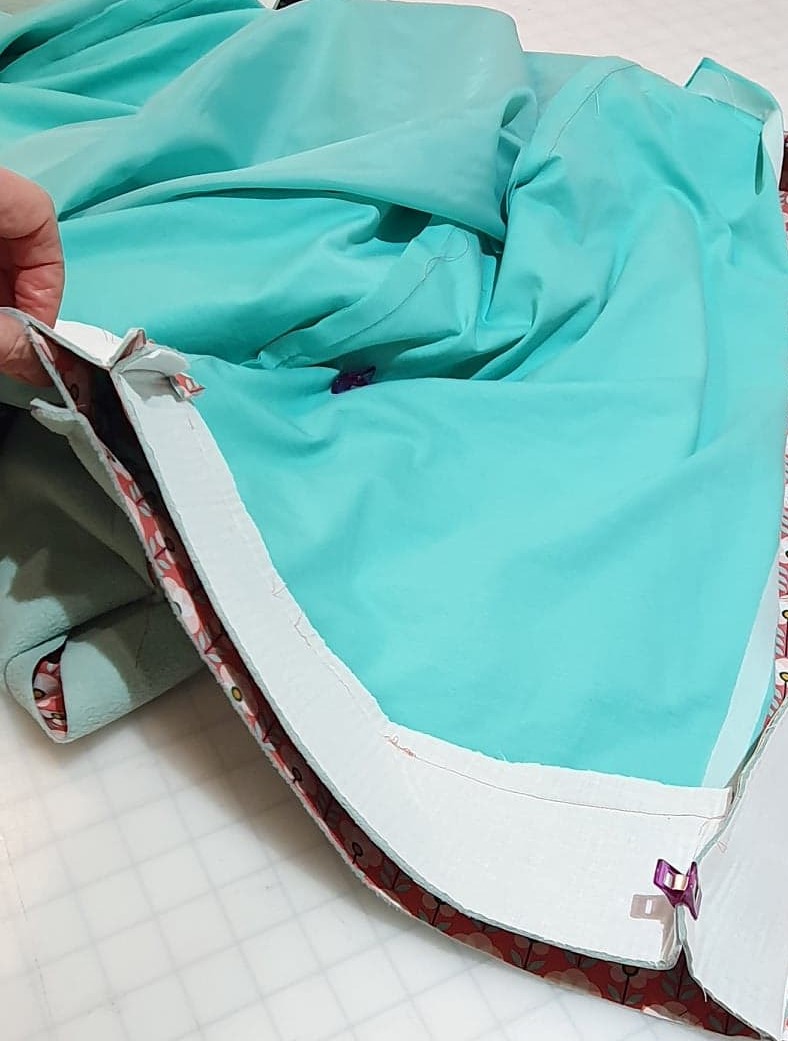
Clip all the corners to reduce the bulk and undercut down the front edges too.
Now the cuffs are easy, you just need to make sure you don’t twist the arms – spread your coat so the shell is one side and the lining the other … sorry this pic looks like road kill but hopefully you get the jist 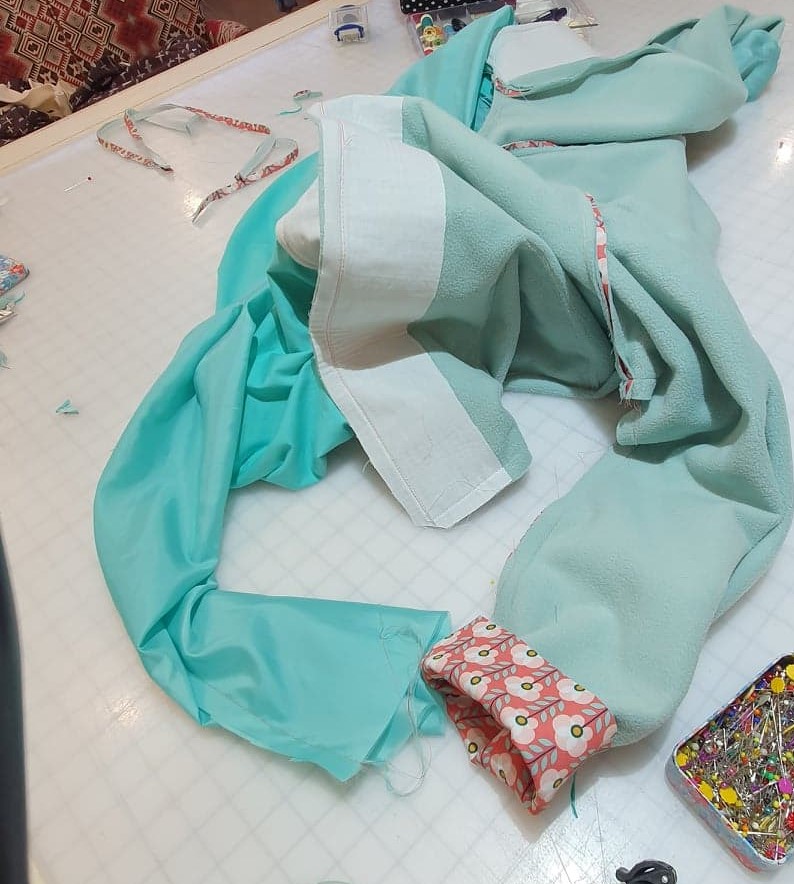
Turn back the cuff on your outer shell and feed it inside the cuff of the lining, match the seams and sew around using a regular seam allowance.
Now the magic, turn inside out – pay particular attention to the corners so that they are well shaped – give a good ‘ol’ press and spend some time oohhing and arrrign over your masterpiece.
POPPERS !!! now these did give me the heebie jeebies.. putting a hole into your beloved make takes some guts but the satisfaction of that snap … ooooh yess – the Prym Vario pliers are a real big help for these – the anorak popper do come with an attachment tool but so much easier with the pliers and

I did a separate video on the popper insertion that you can catch here
so there we have it a finished coat that not only looks beautiful but totally practical too that will get lots of wear in years to come. I really really hope that this sew-along has helped you or given you the confidence to sew your own outer wear item.
I have loved sharing this make with you all and the feedback through IG
bye for now xxx


