
Week 4 and we’re going to eat that frog! .. simply when you have a task that you are not relishing to do its far better to get on with it.
I promise you though it really is not that bad, all the ladies in the class actually agreed that the thought really was far worse than the reality.
If you fancy a preview too watch here
Okay, so we spent a little time mopping up on areas that were outstanding and we could all be at the same point so we could insert the zip together .
List of mopping up
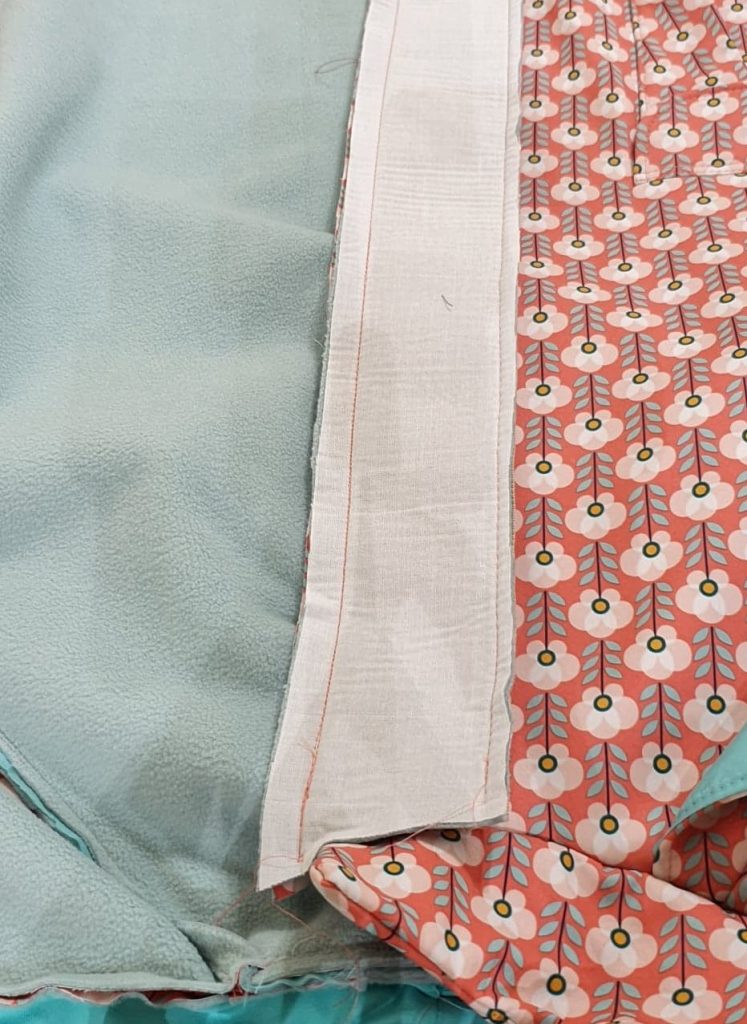
Hood – under stitching was completed around the front facing and the hood and lining were basted together at the neck edge.
 Lining – attach both arms to back and front. stitch side seams and sleeve seams together ( leaving a good turning gap down the inside of one of the sleeves)
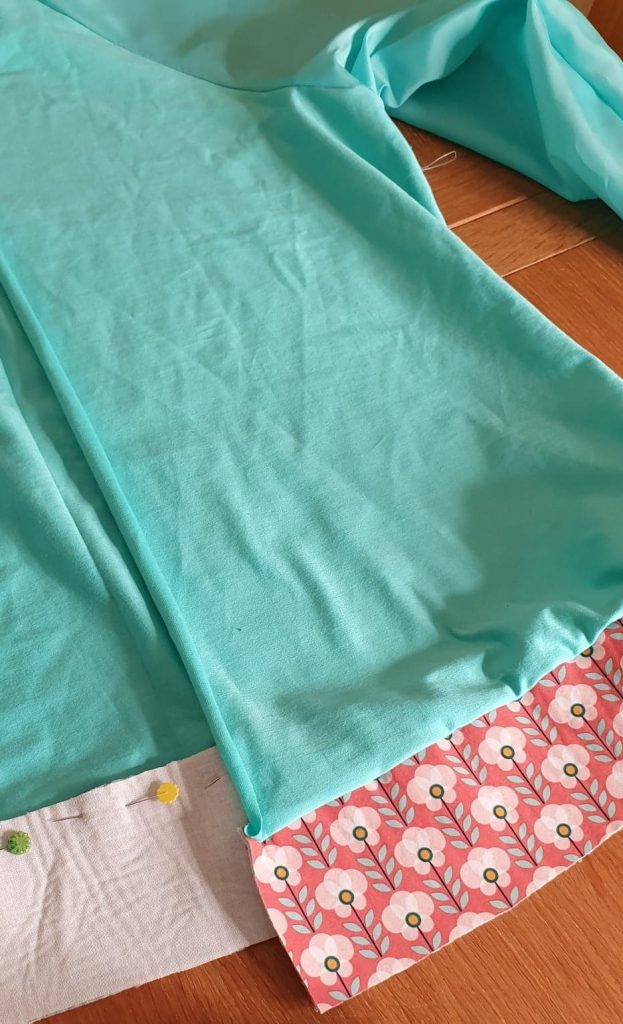
Hem facing – sew the front facings to the back facing and attach to the lower edge of the coat lining. 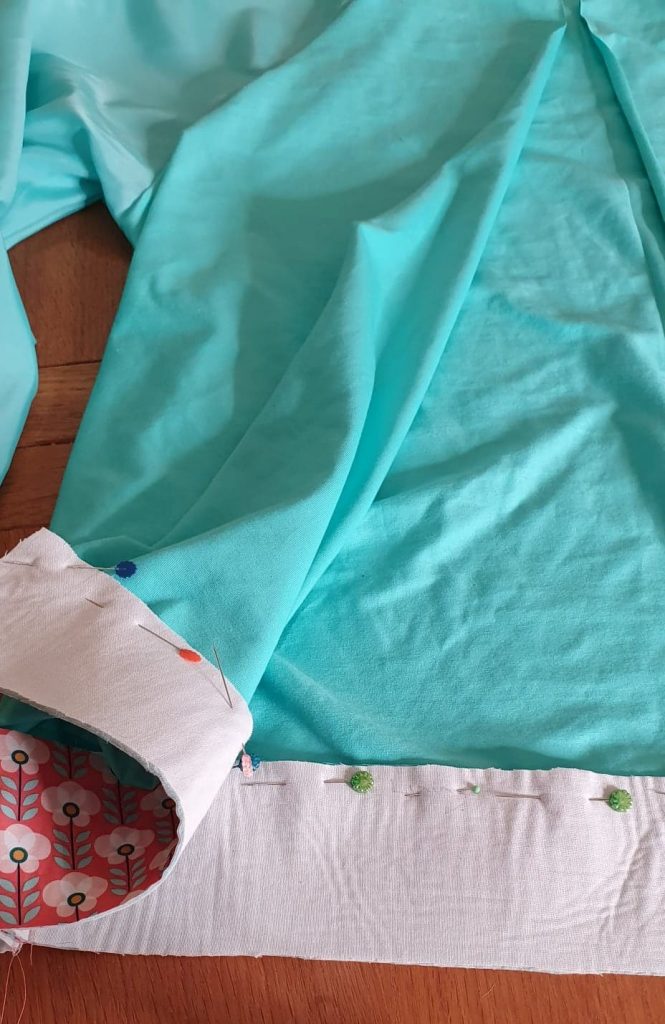
Once stitched in place you can trim the seam allowance to reduce bulk
now we have mopped up we are ready to get the zip in! Tip: I recommend not to use pins when inserting a zip -just because they can distort the zipper and fabric – clips, wonder tape or fabric glue pans are best as they keep everything nice and flat
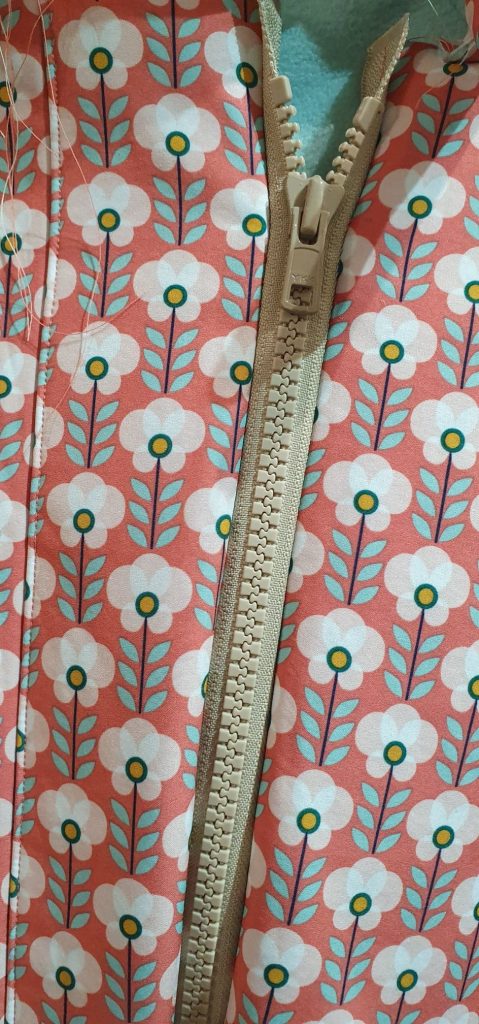
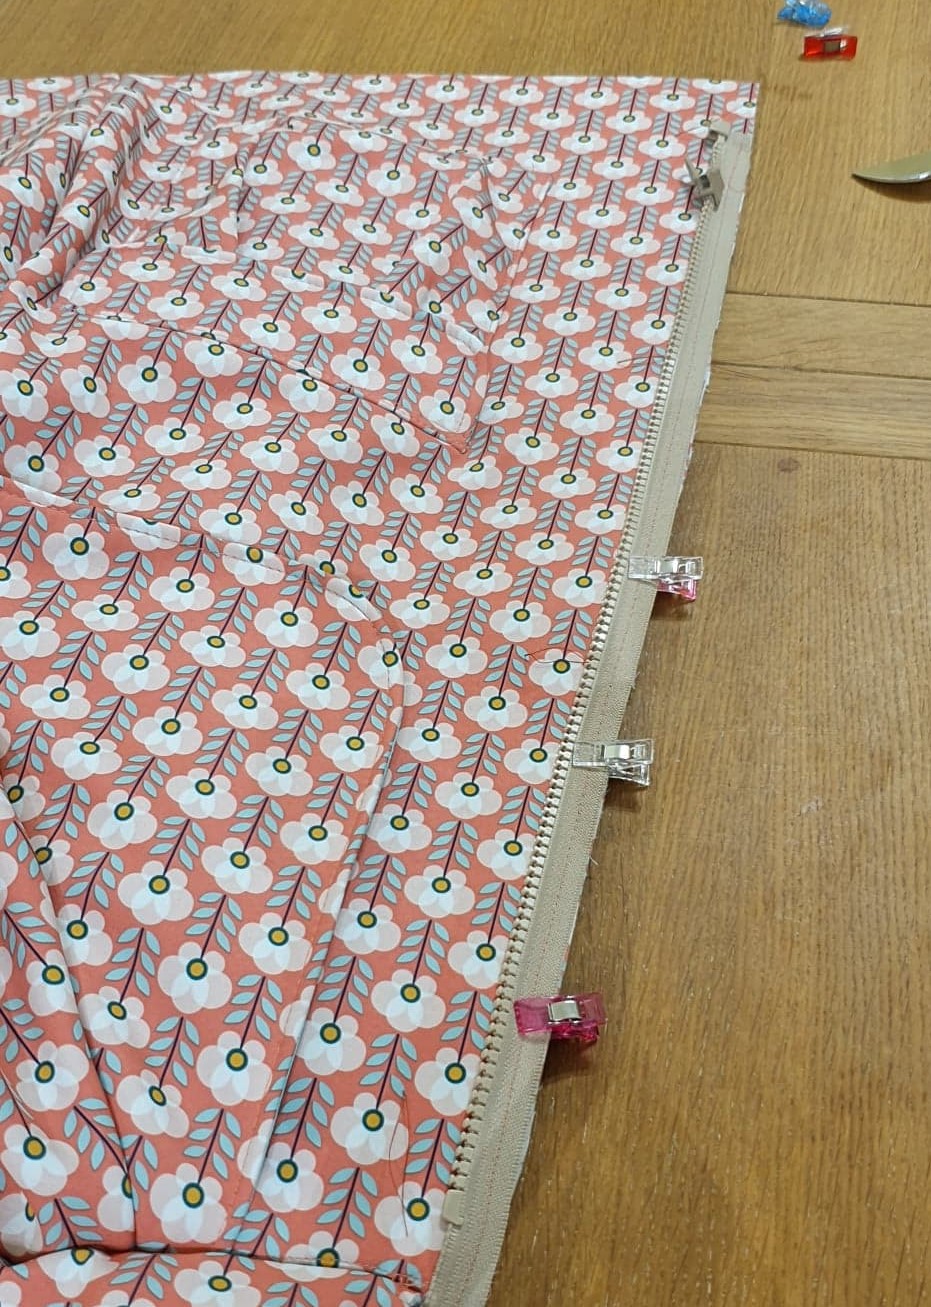 take your open ended zip and separate- taking the left-hand side as you would be wearing it ( our zipper had the pulley part attached to it) place the zipper face down on the left-hand side of the front jacket. *note the teeth will be furthest away from the raw edge; a-line the zipper tape and the raw edge of left front. The top stopper will be approx 3/4 inch from the top edge of the jacket. Still with me ? good. use your clips to secure and then baste in to position. Don’t worry too much about stitching on a regular length as this will be stitched over again when we attach the lining ( the zipper will be sandwiched in between).
Okay, next up we are going to place the right-hand part of the zipper to the right hand front facing. Tip : line up the front facing to the left had side of your jacket to check the two zippers are lined up nicely
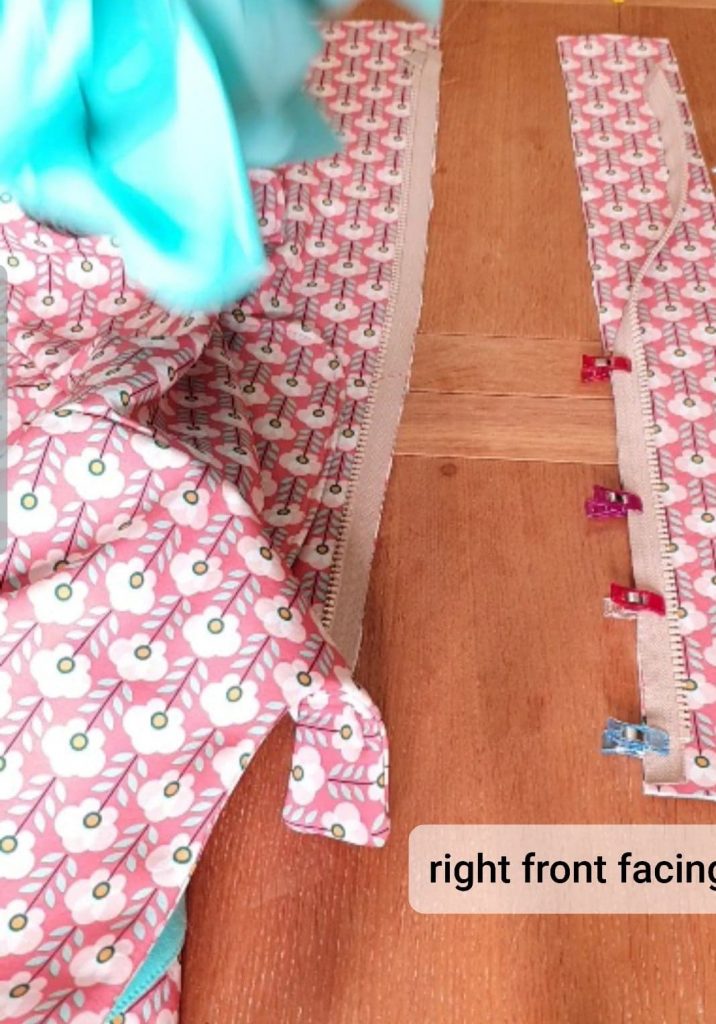
Baste into place and zip them together just to go oooohhh! ?
Place the right front facing and the right jacket front together ( yep right sides together) and stitch together using the regular seam allowance and regular stitch length.
Under cut the front facing so that the bulk is reduced 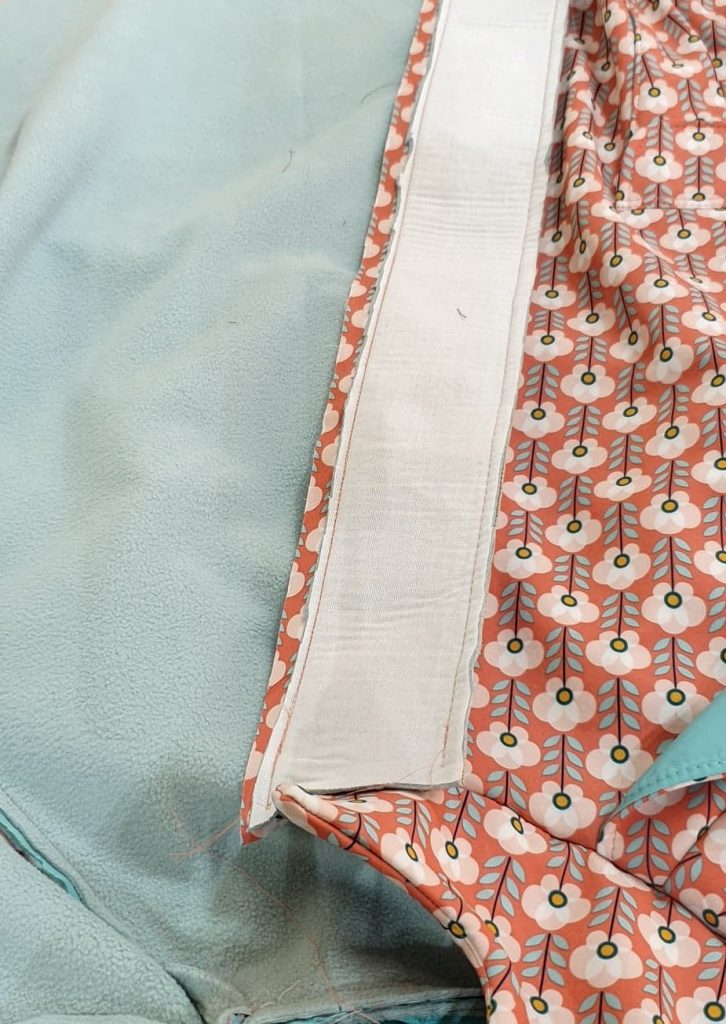
Press seam towards facing and under stitch
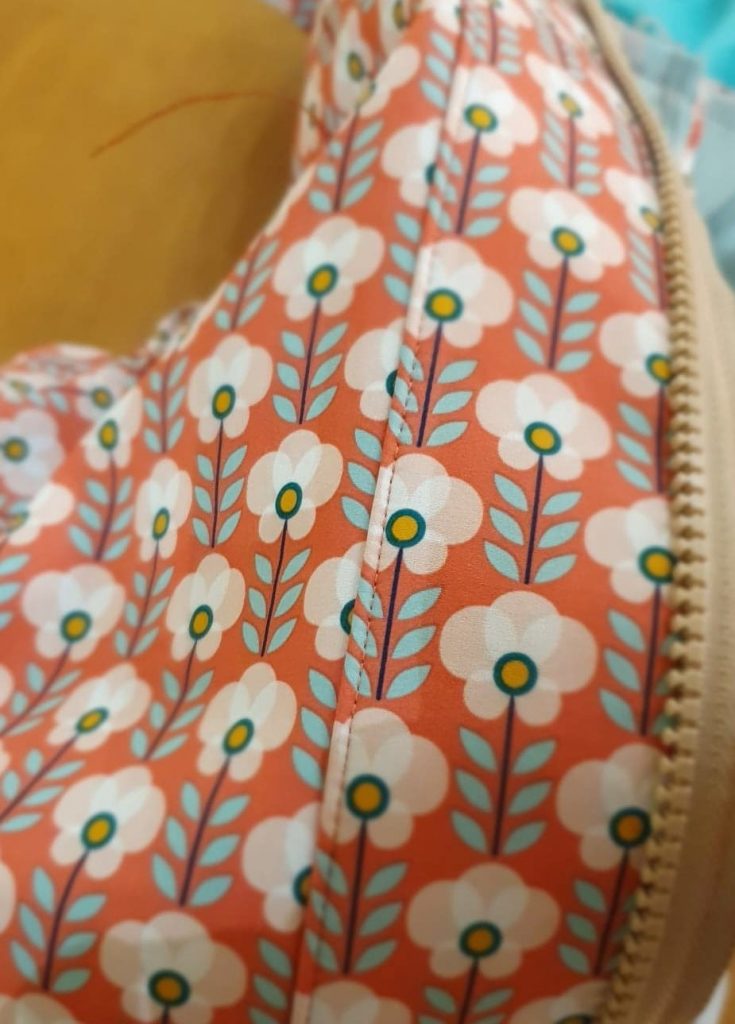
Tada That’s it – its in !!!!!!
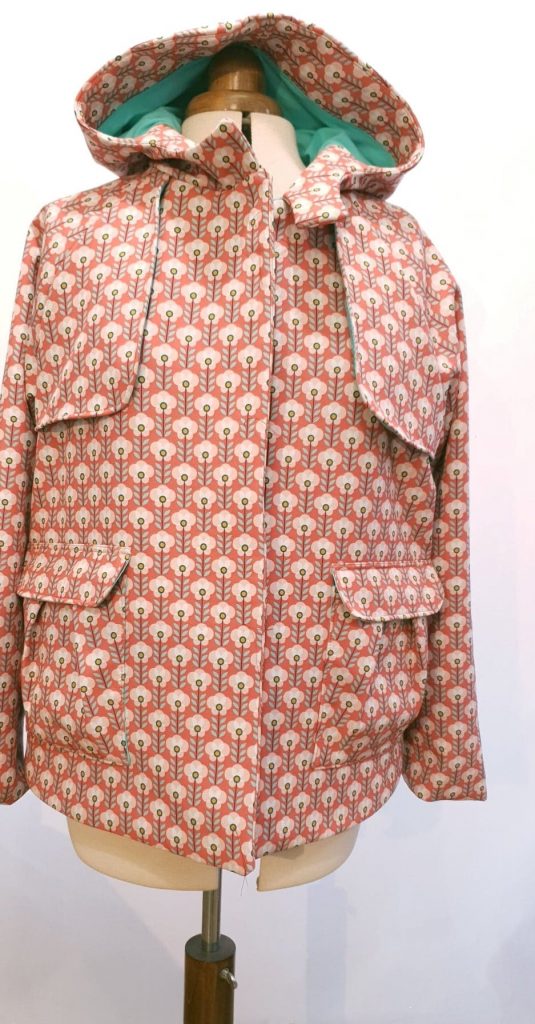
one coat shell fully assembled WITH A ZIP
Thanks for joining us again, have a great week
. Till then xxx


