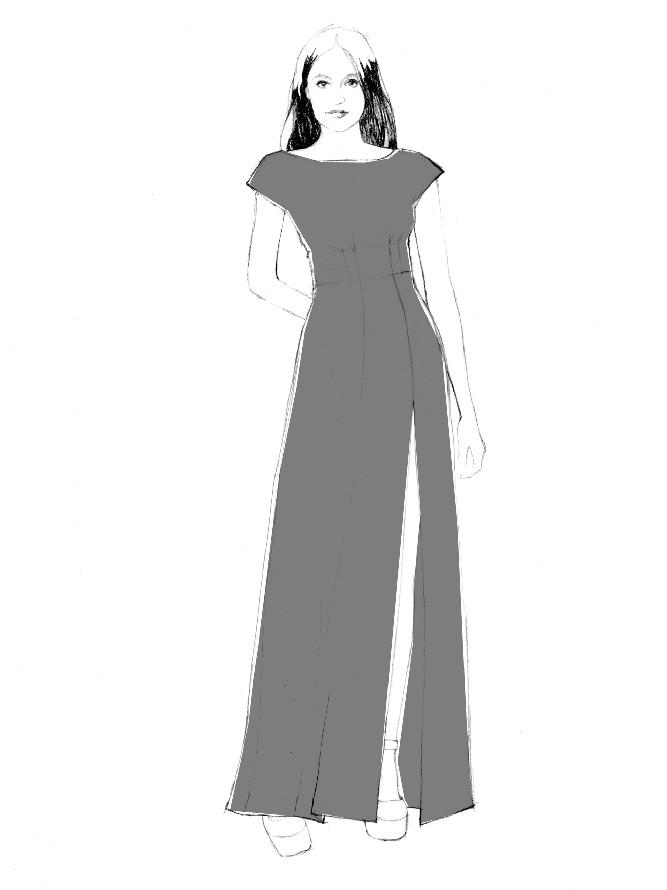
Hi everyone, I’m Jenny (@craftysewandsewindorset over on Instagram) and this is my first blog post for the Sewcial Studio. Amanda contacted me in September to ask if I would like to join her blogging team and of course I agreed – I used to have a blog under the same handle as my Instagram account but due to lack of time to commit to it, I closed it down. At the time I was in the middle of my MA Dissertation, so I had to be sensible and delayed when I could write this; to keep me motivated to finish my assignment, Amanda sent me two pages of beautiful fabric swatches to make my chosen dress pattern. The Anna dress from By Hand London https://byhandlondon.com/products/anna-dress
I’d bought the pattern a few years ago but have never braved sticking together ALL the pages in the PDF pattern. There’s quite a debate about printed patterns V PDF, whats your view? I would have sent it to the printers but I had already printed out the A4 version and couldn’t bear to put a tree in the bin!
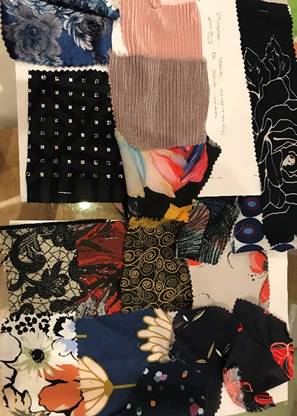
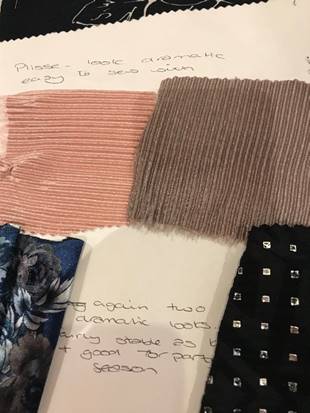
Wow, Amanda selected around 16 different fabrics that she thought would work with my pattern selection, she really knows her stuff; she added notes to let me know about the various fabric content. It was so helpful and gave me a real eye opener in choosing something slightly different to which I had originally considered . The cotton I originally had my heart set on was actually much lighter weight than anticipated and would not have worked as well with this design dress.

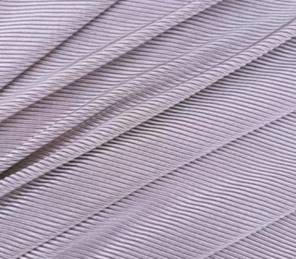
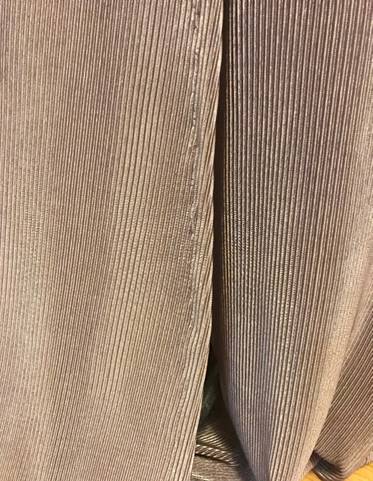
Once my assignment was handed in, I contacted Amanda and discussed the fabrics she had sent to me – I was originally considering the blue Floret Sunkissed fabric by Art Gallery Fabrics but then after seeing the mink plisse fabric Swooon .. I knew it had to be made in this, perfect fabric for Christmas.
This fabric has a stunning movement to it and was perfect for a maxi dress – once I told Amanda which fabric I had chosen it arrived within a couple of days;
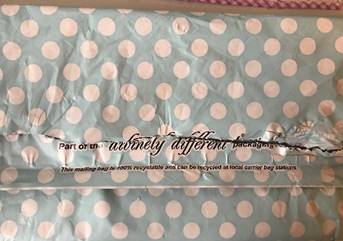
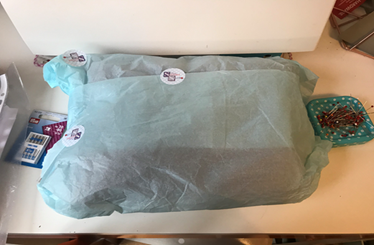
Sewcial Studio uses Eco friendly packaging and pretty tissue paper so it was a real treat and lovely to come home from work and unwrap, it went straight in the machine for a pre-wash.
Once the plisse fabric was dry I noticed it was a little sheer in a single layer so I decided the line it rather then add the facings. This also meant I didn’t need to worry about the seams inside as they would be covered up – I used a light weight scuba jersey to tone with the mink colour and sewed it up first, which allowed me to check the fit.
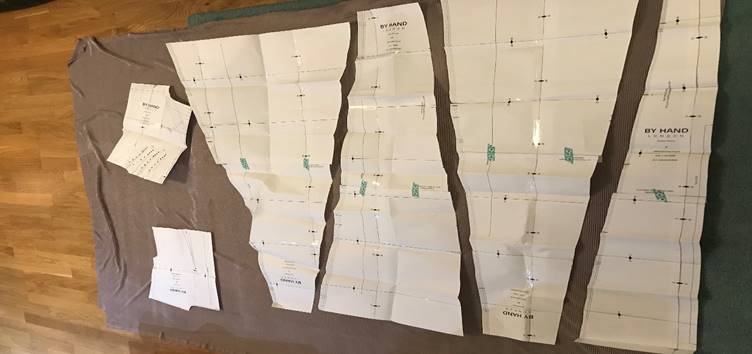
I cut a size 12 (UK) and the fit was pretty good without further adjustment, so I decided to get on and cut the real fabric. I laid the fabric out on the lounge floor to check the positioning as the pattern pieces in the maxi dress are quite fabric hungry!

I had read lots of posts about how difficult this fabric was to work with but I didn’t find any issues at all. I used my walking foot for all seams, other than for the zip where I used my Janome invisible zip foot (well worth buying!). I tested pressing the fabric on some scraps and the pleats still held and using my clapper, the seams remained open and no marks on the fabric.
 My dressmakers dummy was well utilised- all the skirt pieces were pinned to make sure I sewed them together in the correct order. I used Coats poly thread and a jersey needle as this plisse has quite a bit of stretch in it. I didn’t have any slipped stitches or problems – this dress came together really quickly.

I decided to remove the centre back zip and add it on the side where it would be less obvious as I was not sure how this delicate fabric would cope with being handled and having a zip inserted. I cut the lining at the shorter dress version line and in the end, I cut it off just above the thigh split so it would cover my dignity if the light shone through the dress but would not be seen at the split.
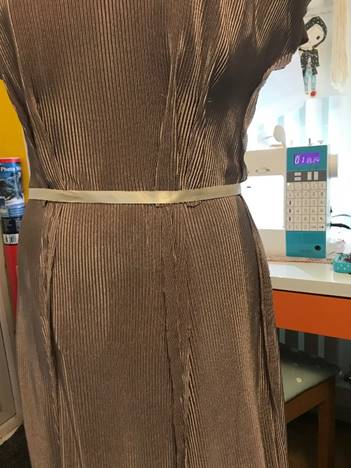
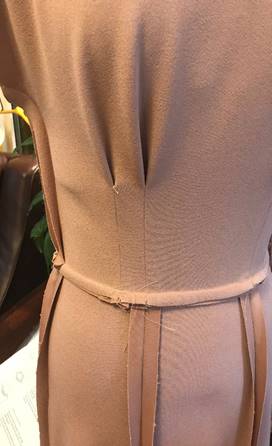
I originally added ribbon on the waist seam as stay tape to avoid the dress stretching out at the waistline due to the volume of fabric in the skirt. In the end I removed this and added elastic at the waist seam to join the lining and shell and ensure that it maintained my waistline.
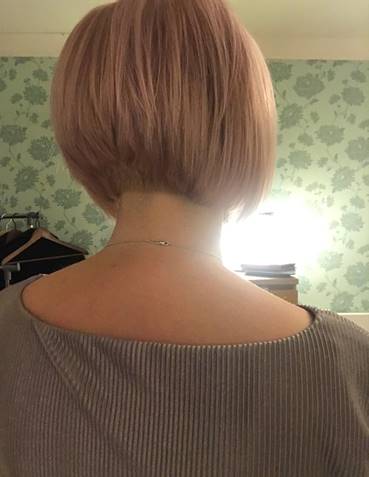
I joined the lining and shell at the neckline and under-stitched the seam allowance to the lining to stop it rolling out. For the sleeves, I pressed the SA under for both shell and lining and top-stitched the pair together from the right side.
I decided not to hem the dress as the plisse does not fray, what a bonus ! Amanda also mentioned she had done the same on a pair of trouser she had made in the Rose pink colourway and it would have a better movement at the bottom without turning it up.This dress though doe appear to have been drafted for giants, as I removed 5cm from the skirt length before cutting out and had to remove a further 15 cm from the hem to be able to wear it with 3” heels!!
 This is such a beautiful dress that I wanted to concentrate on the finish and not rush it, so although I hate hand sewing, I really took my time to get the look I was after and hand hem the seam at the front thigh split.
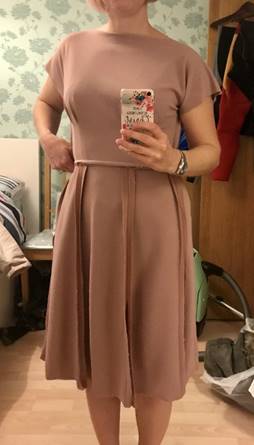
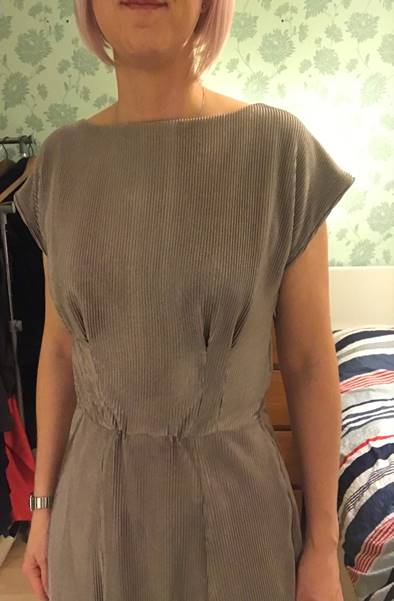
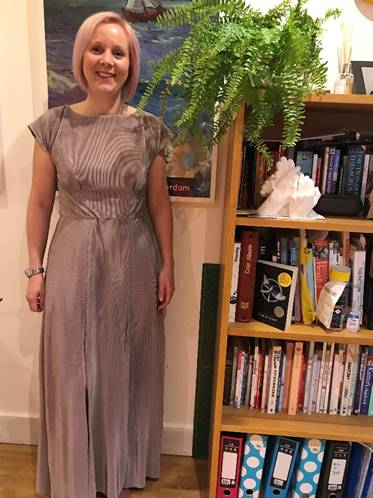
So here it is, my finished Anna dress!
 Thank you so much Amanda for asking me to join your blogging team and for suggesting such a stunning fabric for my dress.
Hope you all like as much as I do
Jen xx


